Step 1: Configure Razorpay in TrueBooker
- Log in to your WordPress Admin Dashboard.
- Navigate to TrueBooker → Settings.
- Scroll down to the Additional Payment Method section.
- Locate Razorpay and enable the payment method using the toggle switch.
- Enter the following credentials from your Razorpay account:
- Merchant Key ID
- Merchant Key Secret
- Under the Currency Settings section, select Indian Rupee (INR) from the Currency dropdown.
- Click Save Changes to activate Razorpay payments in TrueBooker.

Step 2: Customer Checkout Experience
Once Razorpay is enabled, customers can choose it as their payment method during the appointment booking process.
Selecting the Payment Method
- Review the booking details and cost breakdown in the Confirm Details section.
- Under Select Payment Method, select Razorpay.
- After selecting Razorpay, a Razorpay Payment button will appear. Click the button to proceed to the secure checkout.
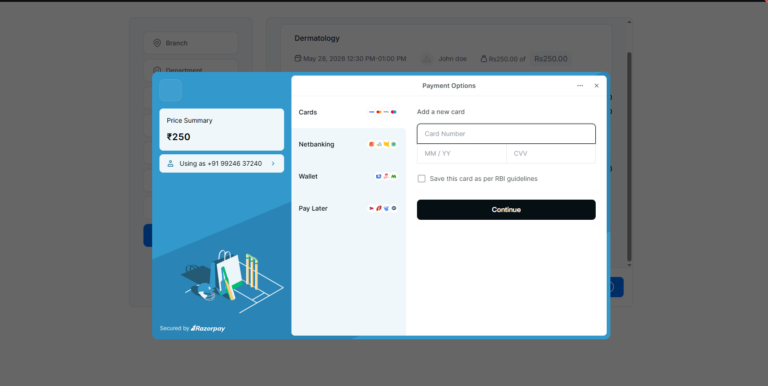
Step 3: Razorpay Secure Checkout
After clicking the Razorpay Payment button, the secure Razorpay checkout window will open.
The checkout window displays:
- Booking price summary
- Customer contact information
Customers can securely pay using their preferred payment method:
- Credit & Debit Cards
- Net Banking
- Wallets
- Pay Later
Once the payment is successfully completed, TrueBooker automatically processes the transaction and confirms the appointment booking.
Important: Razorpay supports only Indian Rupee (INR). This payment gateway will function only when the currency in TrueBooker is set to INR.