Whenever a customer books an appointment via the frontend booking form, their information is automatically saved to the customer list in the admin panel.
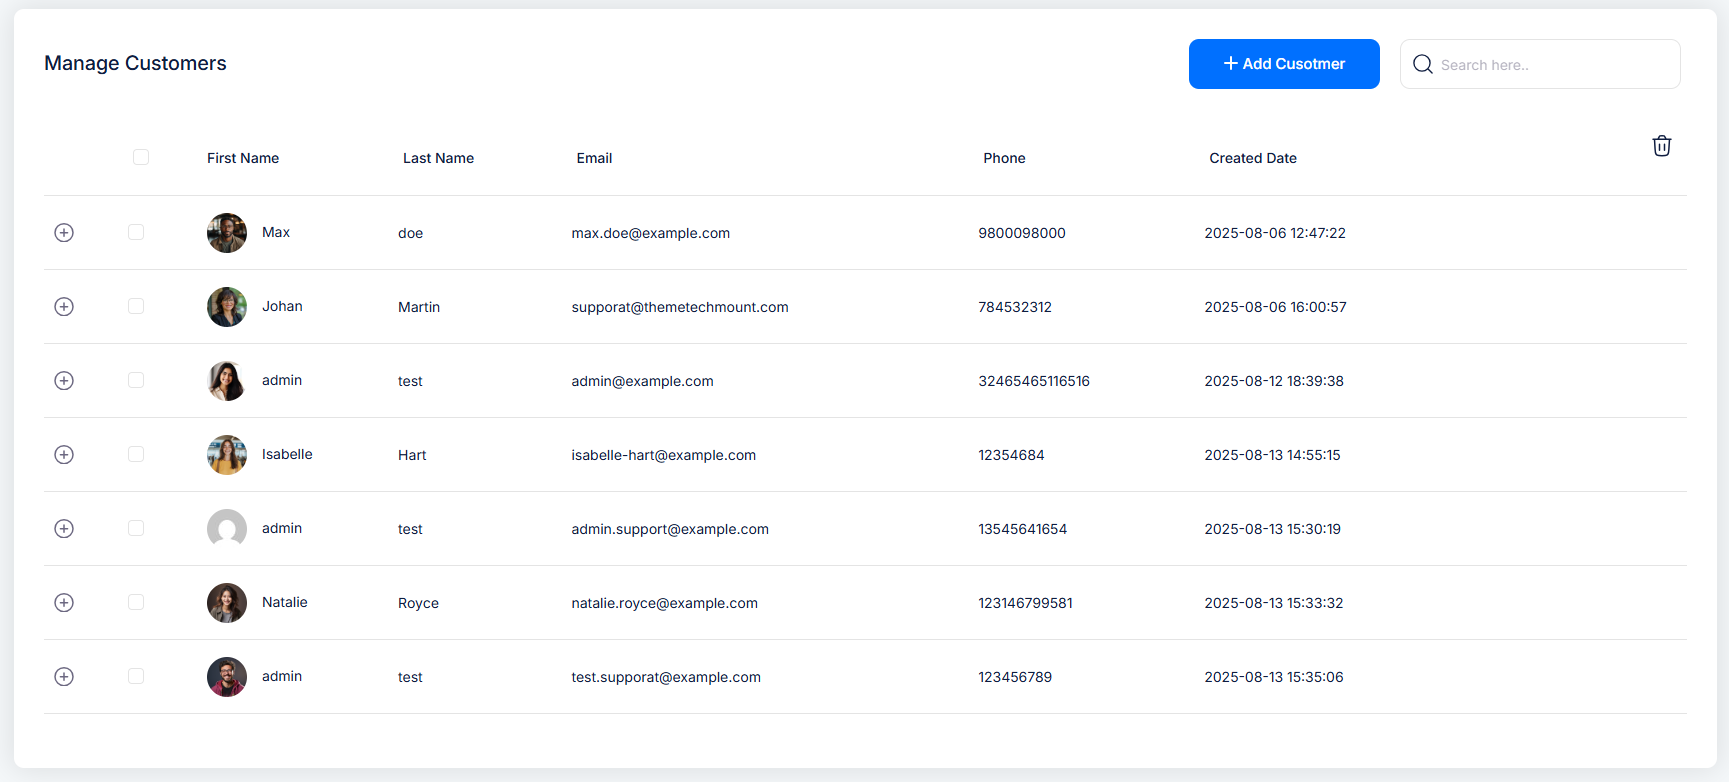
List Customers
This page displays all the customers stored in your system. From here, you can view customer details, add new customers, edit existing records, and delete customers as needed.
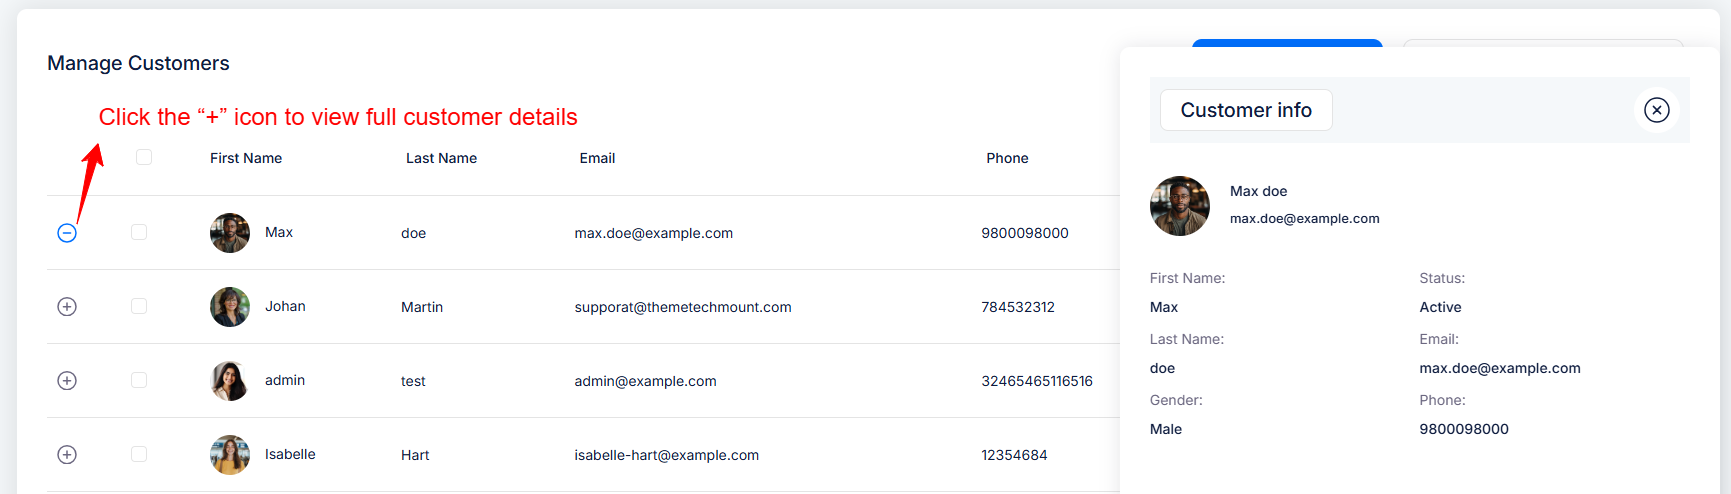
1️⃣ View Customer Details
When you click the “+” icon (or Click here to view full details), a modal popup appears displaying the customer’s complete information
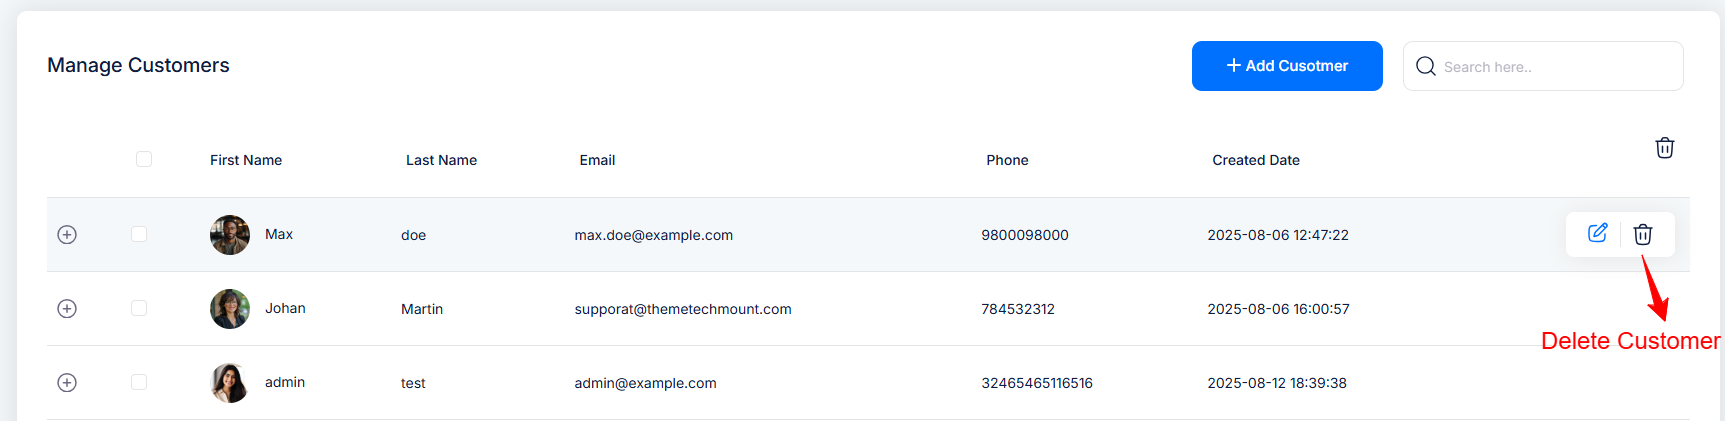
2️⃣ Delete Customer
To delete a specific customer, hover over the customer’s row so it display the action bar. Click the Delete icon, and a confirmation dialog will appear. Select Delete in the confirmation box to permanently remove the customer.
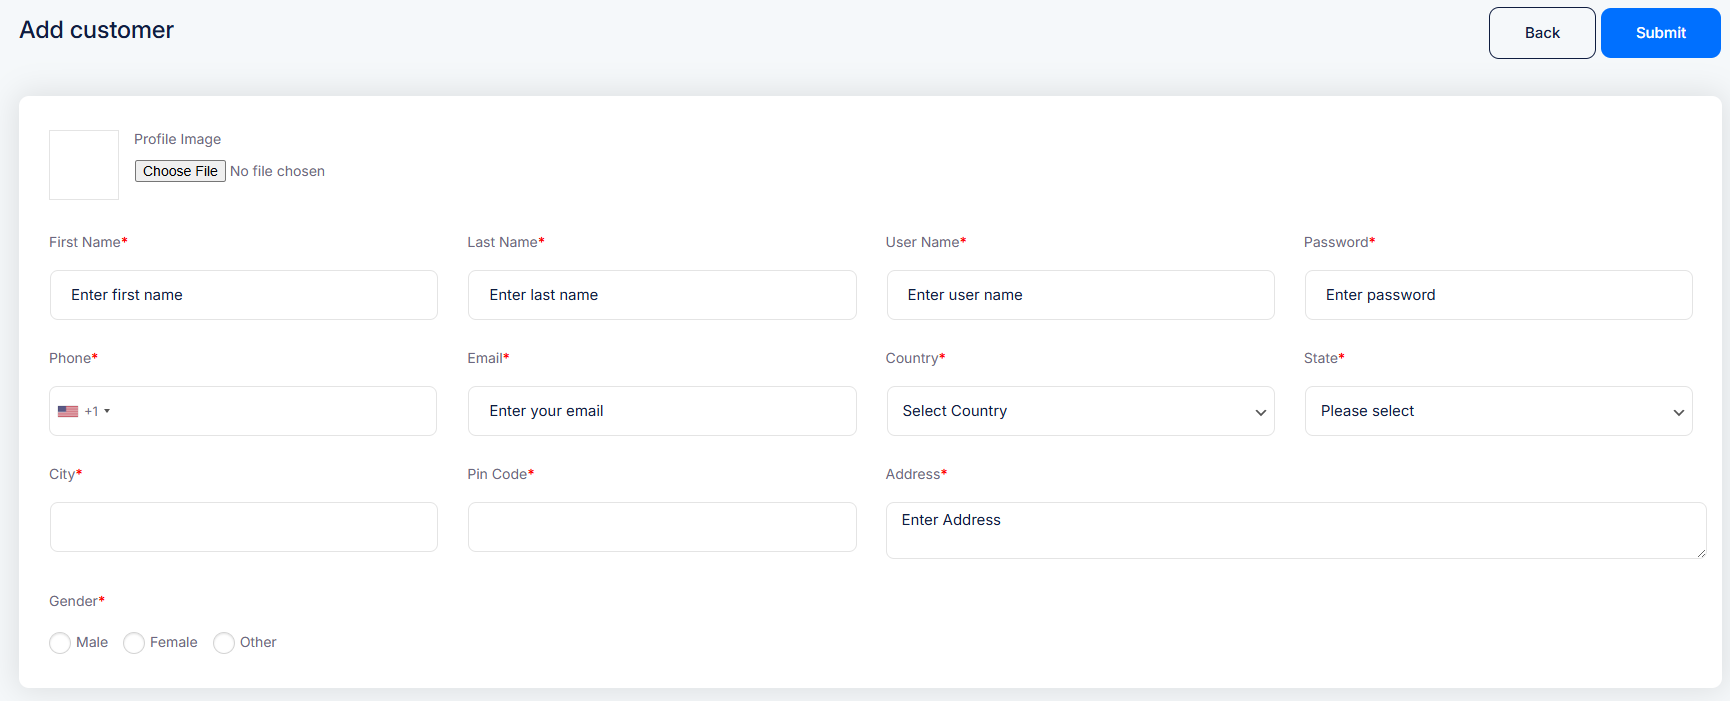
3️⃣ Add New Customer
To create a new customer from the Admin panel, click the “Add New” button in the top-right corner of the page. This will open a page where you can enter all necessary customer details, including Avatar, First Name, Last Name, User Name,Email Address, Phone Number, Country, State, City, Pincode, Gender Once all details are filled in, save the record to add the customer to the list.
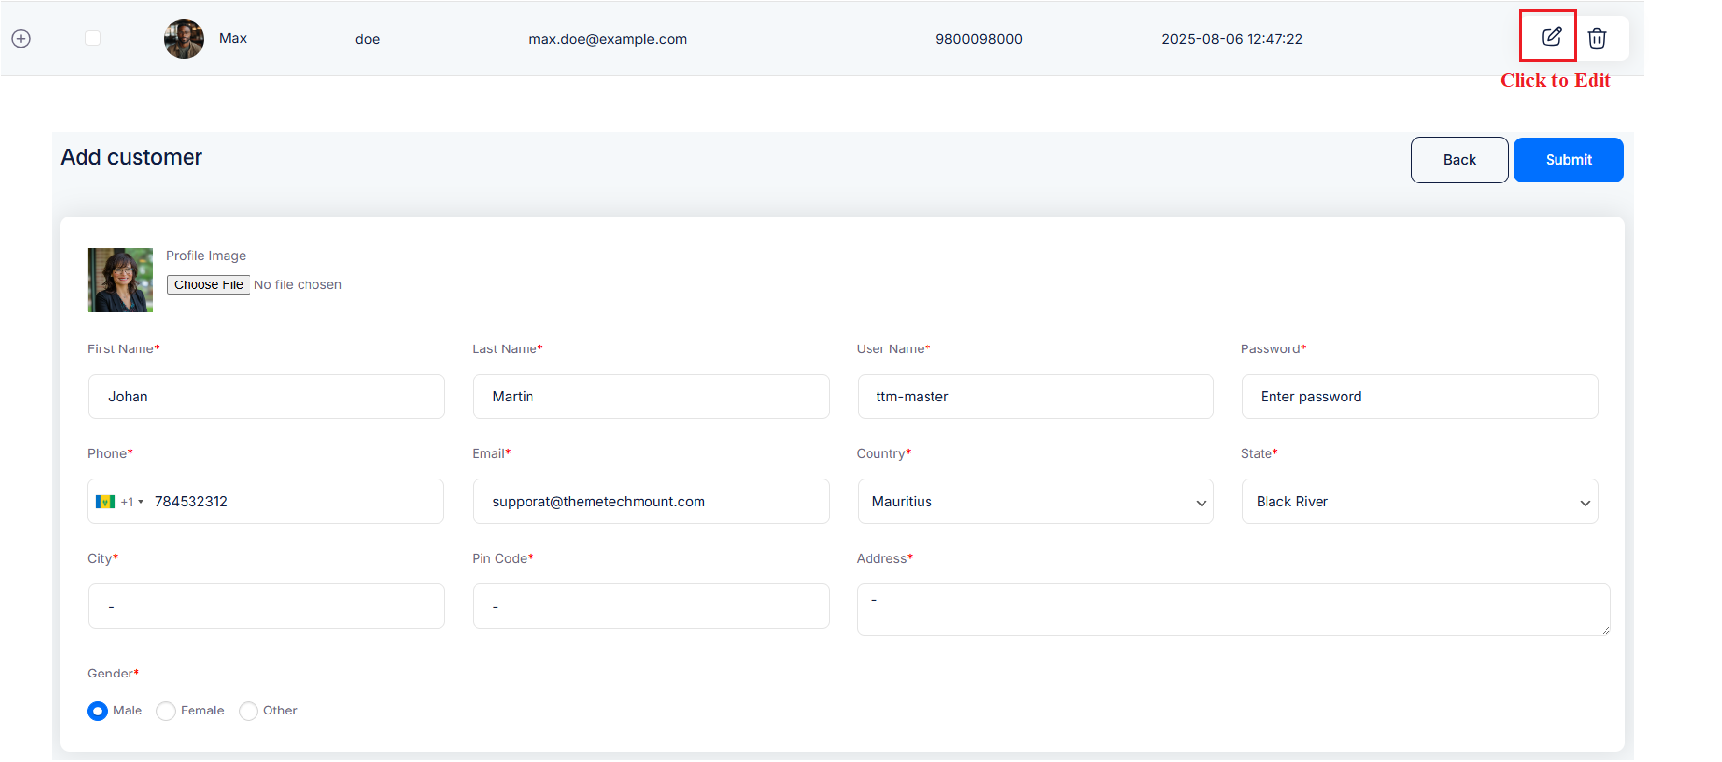
4️⃣ Edit Customer
When you click the Edit icon beside a customer’s row, a page will appears. This page enables you to modify all key customer details quickly and easily.
Once your edits are complete, simply click Submit to apply changes. The page then closes, and the customer list updates accordingly.