
1. Requirements
Before installing and using the TrueBooker AI Booking Assistant, make sure your website meets the following requirements:
- TrueBooker Appointment Booking must be installed and activated.
- TrueBooker registration/purchase code must be verified in the TrueBooker admin area.
- WordPress 7.0 or later is required for the plugin’s built-in AI Connectors / AI Client integration.
- PHP 7.4 or later is required.
- At least one compatible AI provider connector must be installed and connected under Settings > Connectors.
2. Install the Plugin
- Log in to your WordPress Admin Dashboard.
- Go to Plugins > Add New > Upload Plugin.
- Choose the
truebooker-ai-booking-assistant.zipfile and click Install Now. - After the installation is complete, click Activate Plugin.
- Alternatively, upload the unzipped
truebooker-ai-booking-assistantfolder to/wp-content/plugins/using FTP/SFTP, then activate the plugin from the Plugins screen.
3. Connect an AI Provider
- Go to Settings > Connectors.
- Connect a supported provider such as OpenAI, Anthropic, Google, or OpenRouter using the connector plugin installed on your website.
- Enter the required provider credentials/API key in the connector settings.
- Save the connector configuration.
- Return to TrueBooker > Booking Assistant. A connected provider can then be selected.
4. Configure the Booking Assistant
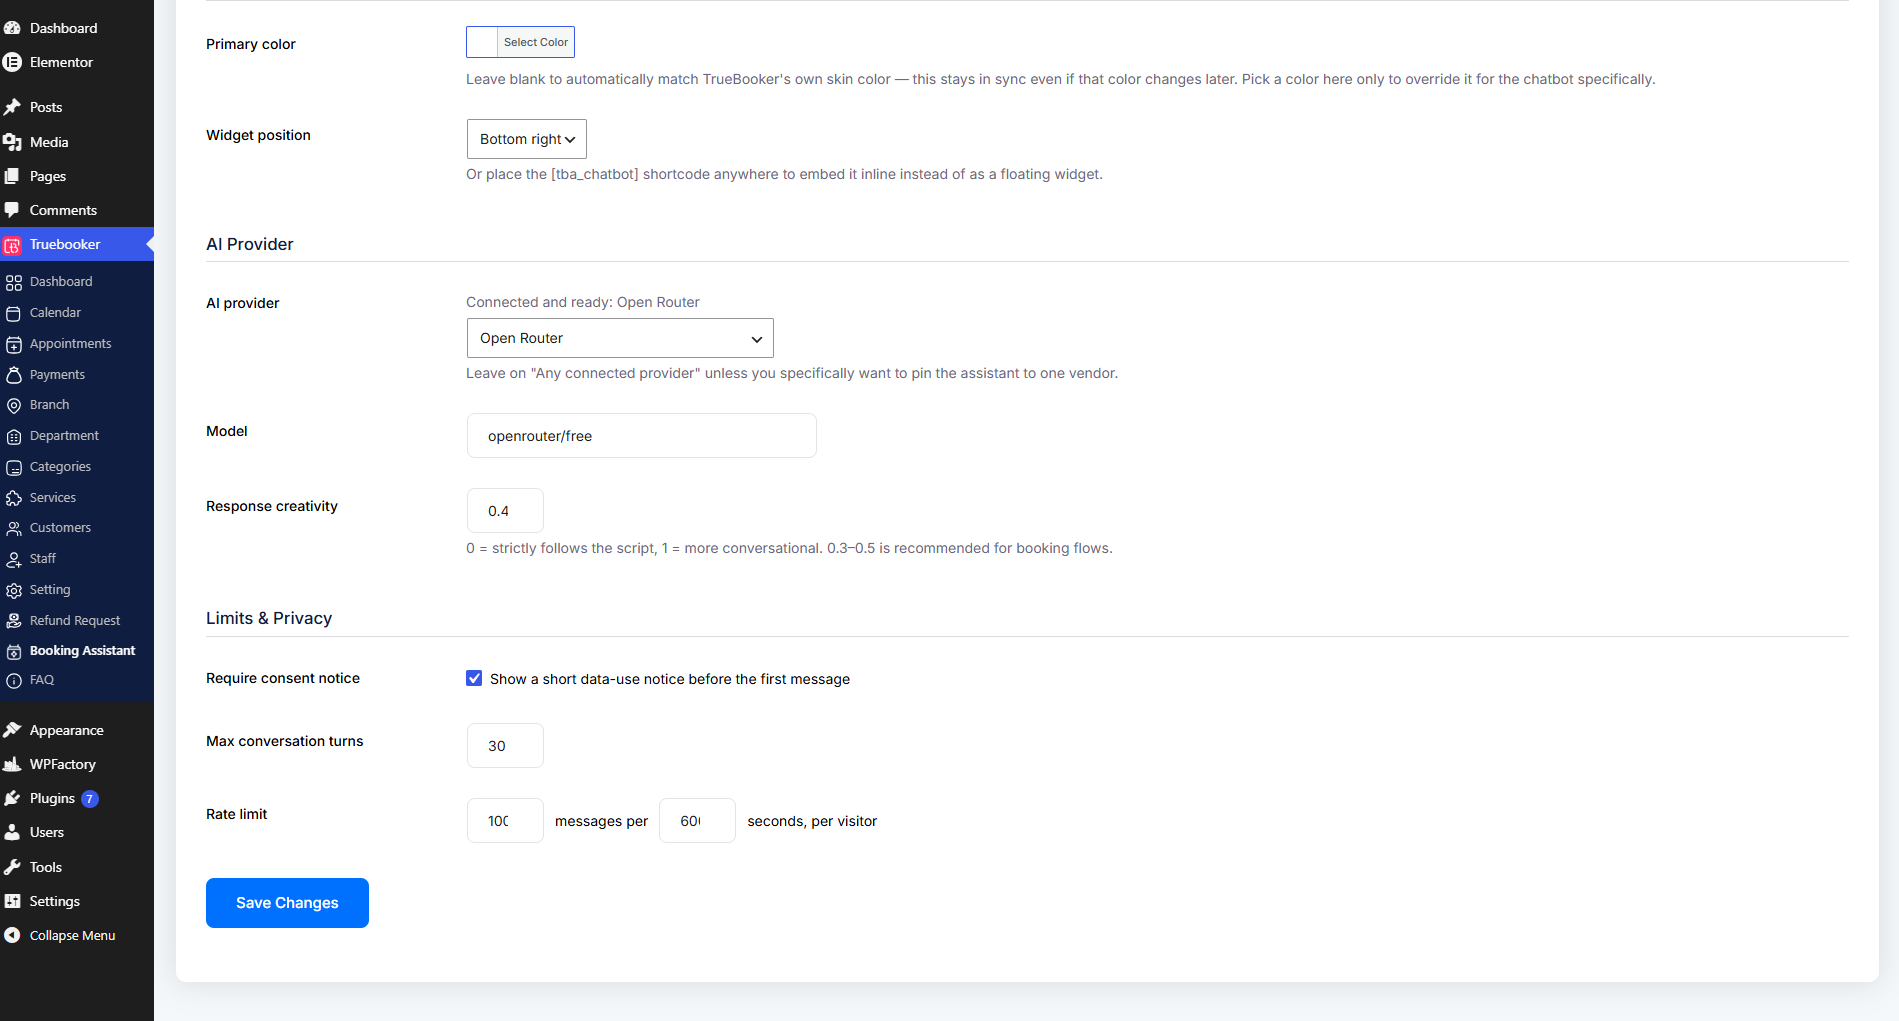
Go to TrueBooker > Booking Assistant.
The settings screen contains the following sections:
- General
- Appearance
- AI Provider
- Limits & Privacy
5. How Visitors Use the Assistant
When enabled, the assistant appears as a floating chat launcher on the front end.You can also use the [tba_chatbot] shortcode to embed the assistant inline on a WordPress page or post.
Booking Process
- The visitor opens the assistant and sees the configured welcome message and, when enabled, the consent notice.
- The visitor selects the required booking options. Quick-reply buttons can be used for branch, category, department, service, staff, date, and time.
- Where supported by the connected AI provider and current plugin implementation, the visitor can also use natural-language messages to explain what they need.
- The assistant uses real-time TrueBooker availability when offering staff and time-slot choices.
- The assistant collects the visitor’s name, email, and phone number.
- The visitor reviews the appointment summary.
- The visitor selects Confirm Booking.
- If payment or a deposit is required, the assistant adds the booking information to the TrueBooker cart and sends the visitor to the configured Booking / Cart Page to complete checkout.
- If checkout is not required, the booking is completed directly.
6. Quick-Reply Booking Flow
Quick-reply buttons are available for the choices required by the booking flow. This helps visitors complete a booking without needing to type every selection.
If an AI provider cannot interpret a free-form message, the assistant should keep the existing booking selections and guide the visitor back to the available buttons or ask the visitor to try again.
7. Reviewing and Confirming a Booking
After the branch, department, category, service, staff, date, and time are selected and the visitor’s name, email, and phone number are collected, the assistant displays a summary for review.
Confirm Booking
Confirm Booking finalizes the appointment or sends the visitor to the configured Booking / Cart Page when checkout is required.
Start Over
Start Over clears the current selections and allows the visitor to begin again.


